


















Dragon Ball Z Vegeta INS x LP Studio

High:
18cm - 27cm
Release Date:
Q1 2027
Product Material:
Resin
Size:
€215.00
Add to wishlist

Reward Coin Buying this product you will collect 2.15 Majin Coins with our loyalty program. Your cart will total 2.15 Majin Coins.


This product is a preorder

This product is available for preorder with the following payment terms:

First Installment
€64.50
Second Installment
€86.00
Third Installment
€64.50

INS x LP Studio Dragon Ball Z Vegeta Resin Statue

Size:1/6: (H) 27 cm x (D) 25 cm x (W) 30 cm

Size:1/8: (H) 18 cm x (D) 19 cm x (W) 22 cm

Read moreShow less
1st Payment: It is the amount to reserve the product.

2nd Payment: This payment is requested once the studio has finished production in the factory. Each manufacturer has their own shipping times and some may take a while to ship.

3rd Payment: Ordered once the product is shipped, with a shipping time of about 45 or 60 days.


The stock is sent approximately one week after the payment is made.
Customers who bought this product also bought
Preorder
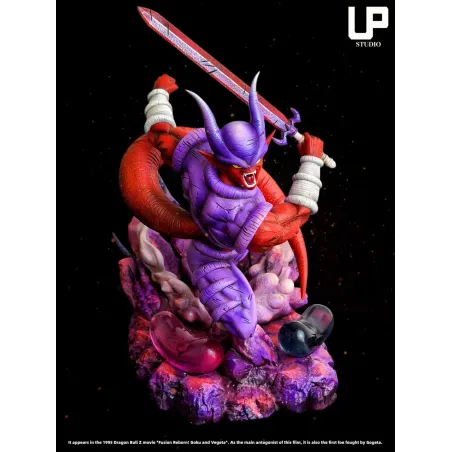
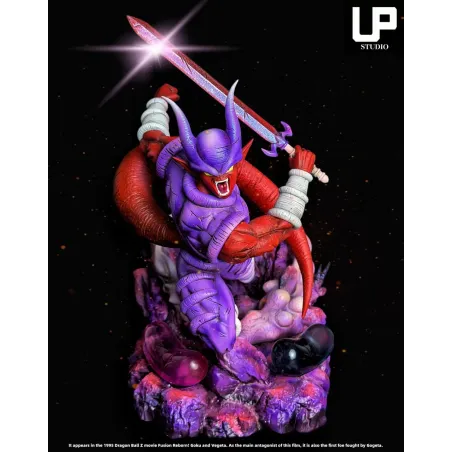
Dragon Ball Z Janemba UP Studio
€210.00
Release date: Q2 2027
payment First instalment €63.00
Reward Coin +2.10 Majin Coins
Preorder
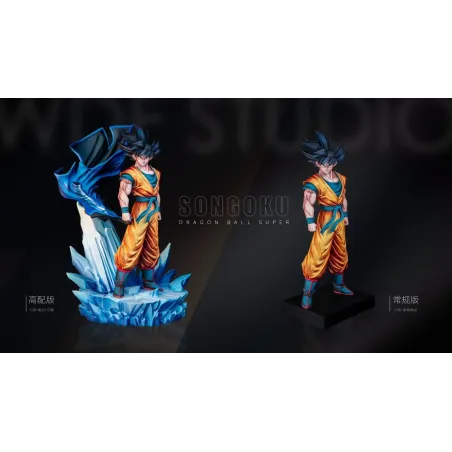
Dragon Ball Super Goku WDF Studio
€170.00
Release date: Q1 2027
payment First instalment €51.00
Reward Coin +1.70 Majin Coins

Your bag

Unboxing Guide

By following these steps and recording the process, you ensure a careful opening and avoid any issues.

  • Workspace: Use a clean and stable surface, preferably covered with soft fabric.
  • Tools: Cotton gloves, knife or cutter, and small tools (optional).
  • Video: Ensure good lighting and a camera showing the seal.
Read moreShow less
  • Security seal: Start by recording the seal and breaking it carefully.
  • Outer box: Avoid tearing it; cut the sides gently.
Read moreShow less
  • Display: Place the art box so it is visible in the video and handle it with gloves.
  • Removal: Carefully remove the box, holding it by the corners.
Read moreShow less
  • Protective layer removal: Carefully remove the top plastic or foam.
  • Examination: Show each piece in the video, holding it without applying pressure.
  • Careful removal: Use both hands, and for small pieces, use soft tweezers if necessary.
Read moreShow less
  • Instructions: Follow the manufacturer's order.
  • Assembly: Check each joint before fitting; do not force any piece.
Read moreShow less
  • Review: Ensure the figure is stable before moving it.
  • Storage: Keep the box and packaging for returns or future transport.
Read moreShow less